Be proactive and know this step-by-step guide on how to fix loose shingles on your roof.
If you’re a homeowner in Pennsylvania, you’re probably well aware of the harsh weather conditions that can take a toll on your roof.
Over time, these conditions can cause shingles to become loose or damaged, leading to potential leaks and further damage to your home.
To prevent this, we will discuss in this blog the steps you should take on repairing loose shingles on roof. Read to the end for valuable tips and information.
Step 1: Assess the Damage
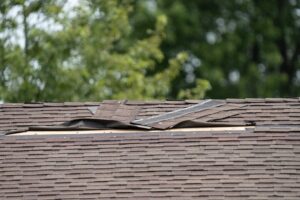
Before you begin fixing loose shingles, it’s important to thoroughly inspect your roof to identify the extent of the damage.
Take a close look at the shingles and look for any signs of wear, tear, or curling.
Pay attention to any shingles that are completely detached or appear to be loose.
Identifying the problem areas will help you determine the materials and tools you’ll need for the loose shingle repair.
Step 2: Gather the Necessary
Tools and Materials
To properly carry out the steps on how to fix loose shingles, you’ll need the following tools and materials:
- Safety equipment: Ensure you have a stable ladder, safety harness, and non-slip shoes to safely access your roof.
- Hammer: A claw hammer will be useful for removing nails.
- Pry bar: This tool will help you lift and remove damaged shingles.
- Roofing cement: Use roofing cement to secure loose shingles and prevent future damage.
- Roofing nails: You may need to replace missing or damaged nails with new ones.
- Replacement shingles: Have extra shingles on hand to replace severely damaged ones.
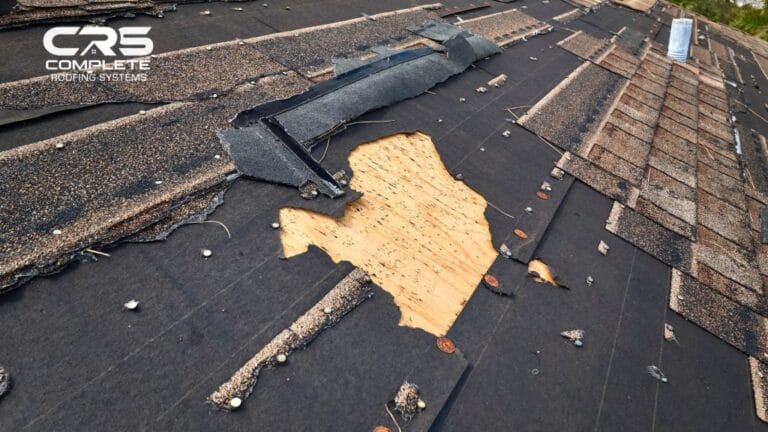
Step 3: Remove the Damaged Shingles
Using a pry bar or a hammer, carefully lift the damaged shingles.
Be cautious not to damage neighboring shingles during this process.
Remove any nails that are still attached to the shingles.
Once the damaged shingles are removed, inspect the underlying area for any signs of water damage or rot.
If you notice any issues, make sure to address them promptly so they will not turn into bigger problems.
Step 4: Apply Roofing Cement
Apply roofing cement to the exposed area where the shingle was previously located.
Use a putty knife to spread the cement evenly and create a secure base for the replacement shingle.
Be generous with the cement to ensure a strong bond between the shingle and the roof.
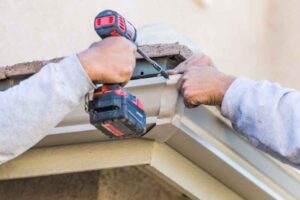
Step 5: Install the Replacement Shingle
Carefully slide the replacement shingle into place, aligning it with the surrounding shingles.
Secure the shingle in place using roofing nails, making sure they are driven through the adhesive strip of the shingle.
Be sure to follow the manufacturer’s instructions for proper placement and nailing.
Most of the time, they also have detailed instructions on how to fix loose shingles.
Step 6: Seal the Shingle
To provide extra protection against the elements, apply a small amount of roofing cement over the exposed nail heads and the edges of the replacement shingle.
This will help seal the shingle and prevent water from penetrating underneath.
Step 7: Conduct a Final Inspection
Once you have replaced and sealed the loose shingles, take a moment to inspect the entire roof for any additional damage or potential problem areas.
Look for any loose nails, curled shingles, or signs of water damage.
Address any issues you find promptly to prevent further damage and extend the lifespan of your roof.
Need Professional Help on How to Fix Loose Shingles?
If you’re in Pennsylvania and need professional assistance with loose shingle repair, contact Complete Roofing Systems today. Our experienced team is ready to provide you with top-notch service to ensure the longevity of your roof.
Don’t wait until a small issue becomes a major problem. Get in touch with us now to schedule a FREE consultation!